Intro
During a recent install of a 4" lift, I installed new lower adjustable control arms all around. During the uninstall of the front, I ran into a problem with frozen hardware. I ended up cutting the stock control arms and bolts out with an angle grinder and having to purchase new hardware (see below for details). Saving money, but getting the best there is, I stayed clear of the stealership as they wanted $20+ per bolt/nut/washer set and went to a local hardware vendor. You should also know, going to the stealership was only going to replace the stock cam bolts with new cam bolts. This was another problem as the cam bolt washers are known not to hold their position well when adjusted for an alignment. Also, having adjustable control arms, cam bolts are no longer required for alignment.
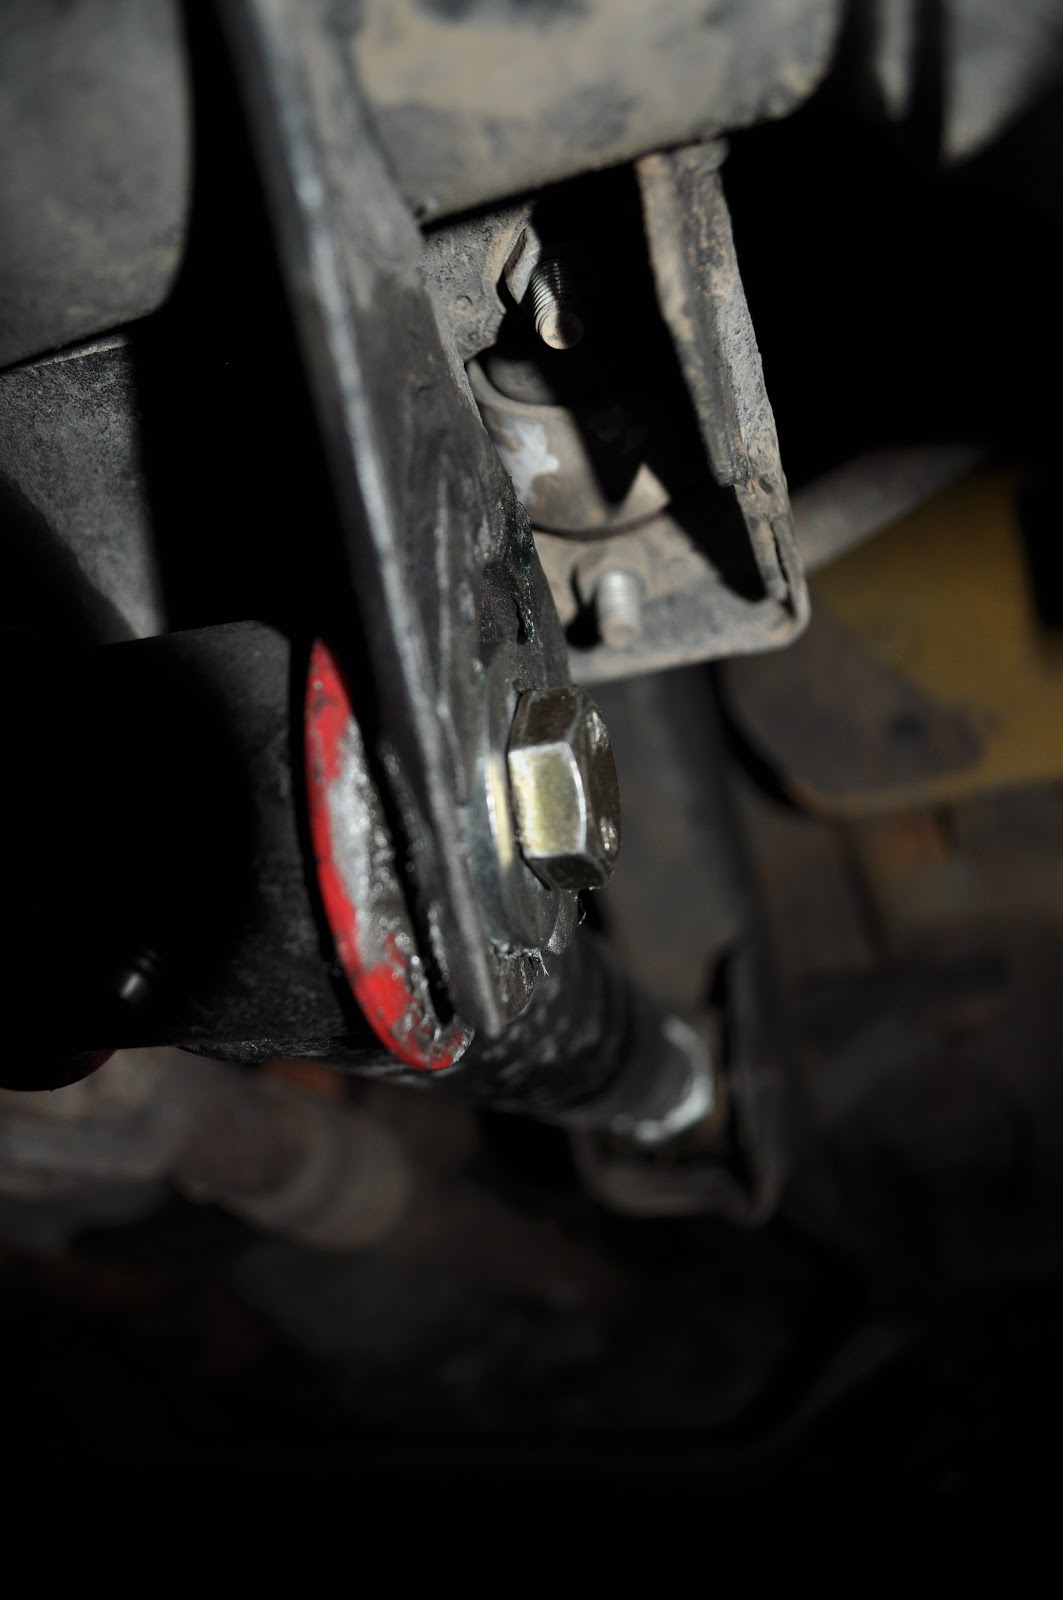
New bolt and washer used
Notice the cam bolt tabs on the control arm

* The adjustable control arms are set to the shortest possible setting in order to set proper alignment on my Jeep.
Parts
- Adjustable Control Arms [JKS in my case]
- Cam Bolt Eliminator Kit (a set of four heavy duty steel, zinc plated washers that fit perfectly) [part # PPM-8114]
- New bolts, nuts, & washers (went to Fastnels)
New Hardware picked up
** All are grade 10.9.
Front Lower Arm, Axle Side
** All are grade 10.9.
Front Lower Arm, Axle Side
- Bolt - Hex Head, M14 x 2.00 x 110
- Nut - M14 x 2.00
- Washer - in the cam bolt eliminator kit
- Bolt - Hex Flange Head, M14 x 2.00 x 100
- Nut - M14 x 2.00
- Washer - if not using flange head bolts
- Bolt - Hex Head, M14 x 2.00 x 110
- Nut - M14 x 2.00
- Washer - in the cam bolt eliminator kit
- Bolt - Hex Flange Head, M14 x 2.00 x 100
- Nut - M14 x 2.00
- Washer - if not using flange head bolts
OVERALL Hardware count:
4 @ Hex Head, M14 x 2.00 x 110
4 @ Hex Flange Head, M14 x 2.00 x 100
8 @ M14 x 2.00 nuts
1 @ cam bolt eliminator kit (4 HD washers)
The Install
With the vehicle on the ground I started to remove one of the lower control axle end nuts and bolts to replace the small washers with the new heavy duty washers. I soon found that the weight of the vehicle was pushing the control arms forward into the mounts, too far into the mount to place the new washer in position and be able to slide the bolt through.So, I did this....
Using two ratchet straps I pulled the axle towards the front of the vehicle by wrapping the straps around the front bumper and around the axle on the passenger and drives side in order to keep the axle even. Worked perfectly!

Passenger side ratchet strap


Driver side ratchet strap


pics of hole centered.....

pics of control arm bolted with washers in the tab space


After doing this you should realign your vehicle. This is a simple process you can do yourself or pay someone to do it for you. Being my Jeep's alignment is simple, I do it myself. Haven't had any problems with death wobble, tire wear, drifting, etc. Plus its good to know how to do this if you wheel being it needs to be done often. The steering wheel and toe are simple. With a tape measure, a friend, and a few wrenches/sockets they can be done quickly.
Few references for alignment:
The End-all, Be-all TJ Alignment thread
Basic Jeep Front End Alignment
TJ Toe-in Alignment
No comments:
Post a Comment